Foco is a range of beautifully designed built-in bioethanol fireplaces, available in standard sizes as well as custom dimensions. Some models can also be fitted with alternative inserts, such as an Opti-myst insert.
In this guide, we will explain how to fit your Foco fireplace. The installation is so straightforward that most people can carry it out themselves — just follow the steps below.
Foco built-in fireplaces are made with a frame of 4 mm thick black powder-coated steel and come standard with a manual burn chamber. No power connection is required, which makes installation easy and straightforward. You can also choose to upgrade to an automatic burner, in which case the fireplace will need to be connected to electricity — we cover this in the guide below.
Foco built-in fireplaces are available in a wide range of configurations, including one-sided, double-sided tunnel, three-sided, four-sided, room divider, corner, and fully open models.
Safety Precautions
- Always keep the Foco fireplace out of reach of children and pets, as the flames and heat from the burner can pose a risk.
- Install in a well-ventilated area, away from flammable materials and combustible objects.
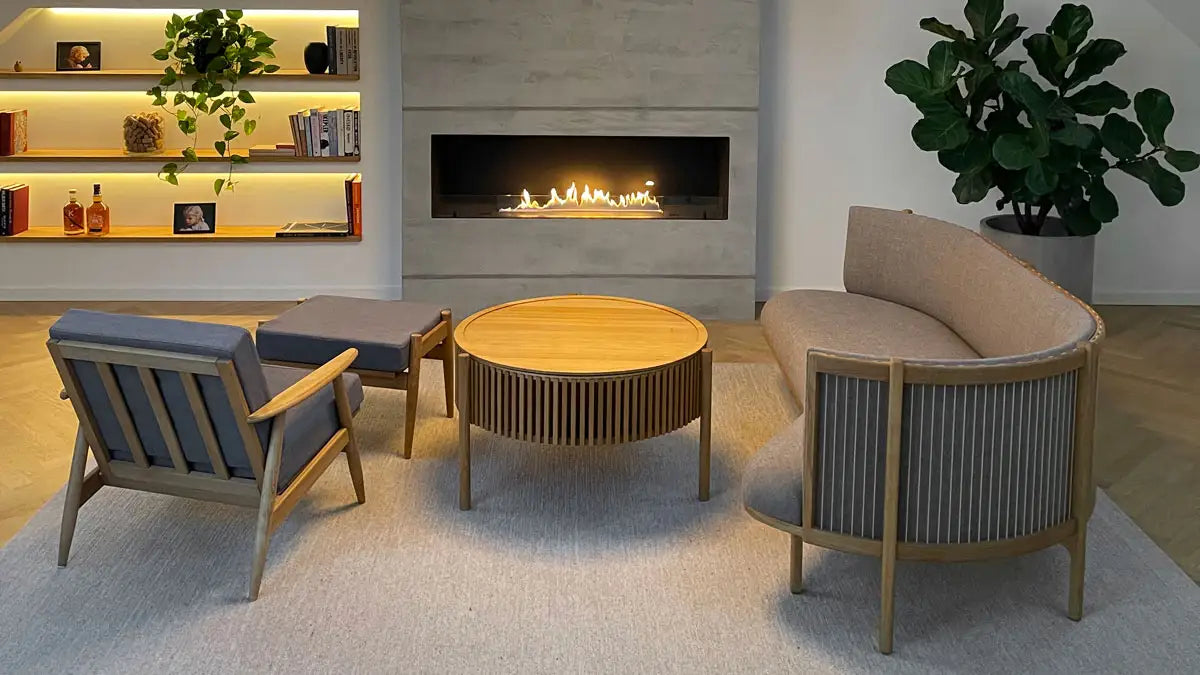
- Securely fasten the frame to the wall and maintain a minimum clearance of 1 metre on all sides and above the fireplace.
- Only use the recommended bioethanol fuel. Using other fuels can damage the product or cause malfunction.
- Never leave the fireplace unattended whilst it is operating. Always extinguish the flames before leaving the room.
- If upgrading to an automatic burner, ensure the electrical connection is carried out in accordance with the included instructions.
- Regularly inspect and maintain your Foco fireplace to ensure it continues to operate safely and efficiently.
Foco Installation Guide: Step by Step
The following installation example is based on the Foco Room Divider 800, but the same steps apply to all Foco fireplace models.
Step 1: Build the Load-Bearing Wall
Construct the load-bearing wall from your chosen material. Most materials are suitable, but if you are building the frame from flammable materials such as wood, remember to add a layer of non-flammable material between the frame structure and the fireplace.
The frame structure should be built to dimensions that correspond to the fireplace, taking into account the thickness of your wall finishing materials. Maintain the proper clearance around the fireplace as recommended by the manufacturer to ensure a flush finish once the work is complete.

Step 2: Add Drywall Boards
Attach your chosen wall boards to the frame structure. In this example, drywall boards were used. Different types of wall board can be used, but it is important that the materials in the area around the fireplace are heat-resistant.

Step 3: Fire Protection
If the wall is made from flammable materials such as wood, add a layer of heat-resistant material between the wall frame and the fireplace frame. Recommended materials include:
- Fire-resistant drywall boards (often called pink boards)
- SkamoEnclosure boards
- Promafour plates
- Promatect plates
- Super-isol plates
- Or similar materials

Step 4: Finish the Wall
Insert the fireplace frame and finish the wall. Fill all cracks and gaps in the drywall with putty and smooth the surface with sandpaper. Fiberglass wallpaper can then be applied, and any small gaps between the wall and the fireplace should be filled with fire-resistant sealant. Finally, paint the wall in your chosen colour.

Step 5: Insert the Burner and Enjoy
Once the wall is complete, place the bioethanol burner into the fireplace frame and install the protective glass. Your Foco fireplace is now ready to use — fill the burner with bioethanol fuel, ignite it, and enjoy the warmth and ambiance of your new fireplace.

Foco Installation Videos
Watch the installation videos below for your specific Foco model:
Foco One installation guide
Foco Two installation guide
Foco Three installation guide
Foco Room Divider installation guide
Foco Corner installation guide
Foco Free installation guide


